
Free on-site gate assessment - hinges, posts, and your LiftMaster or Nice gate operator checked before anything is quoted
The assessment is free and the quote is the invoice.
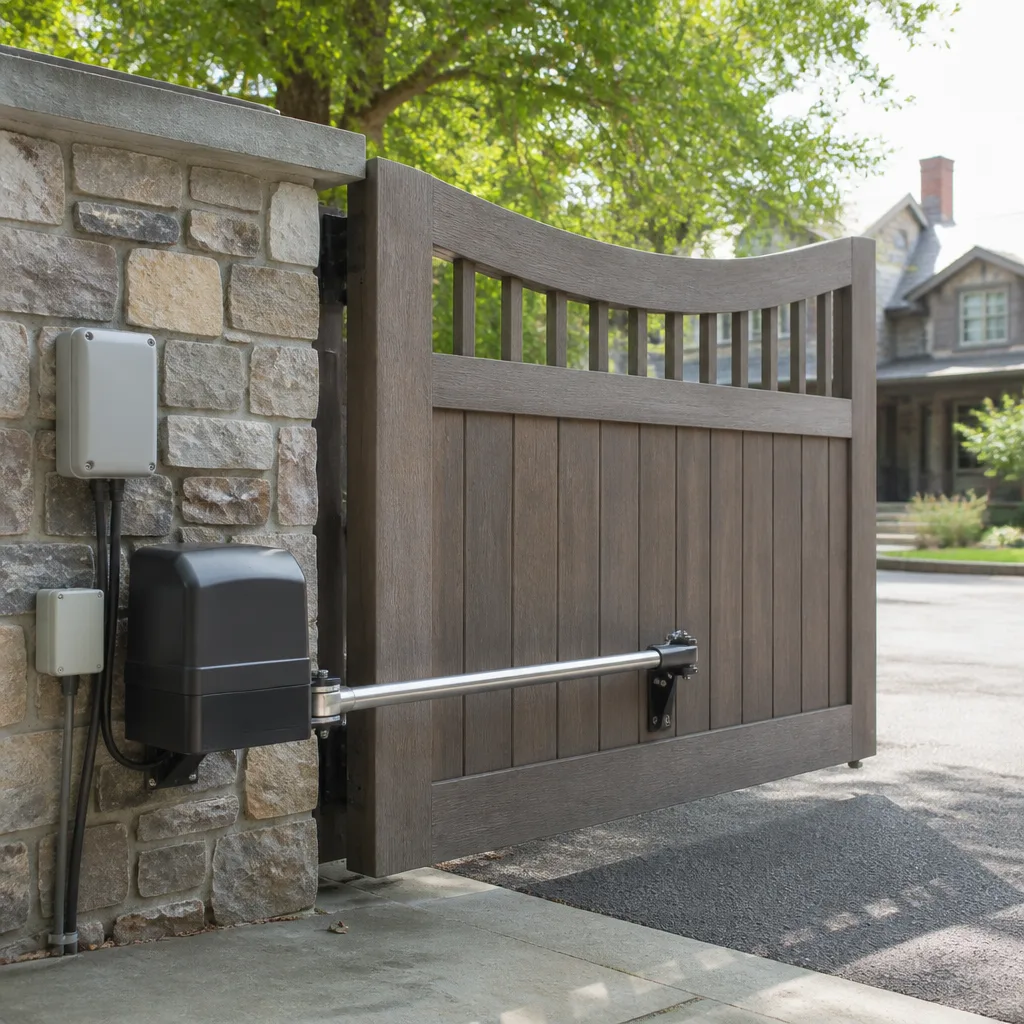
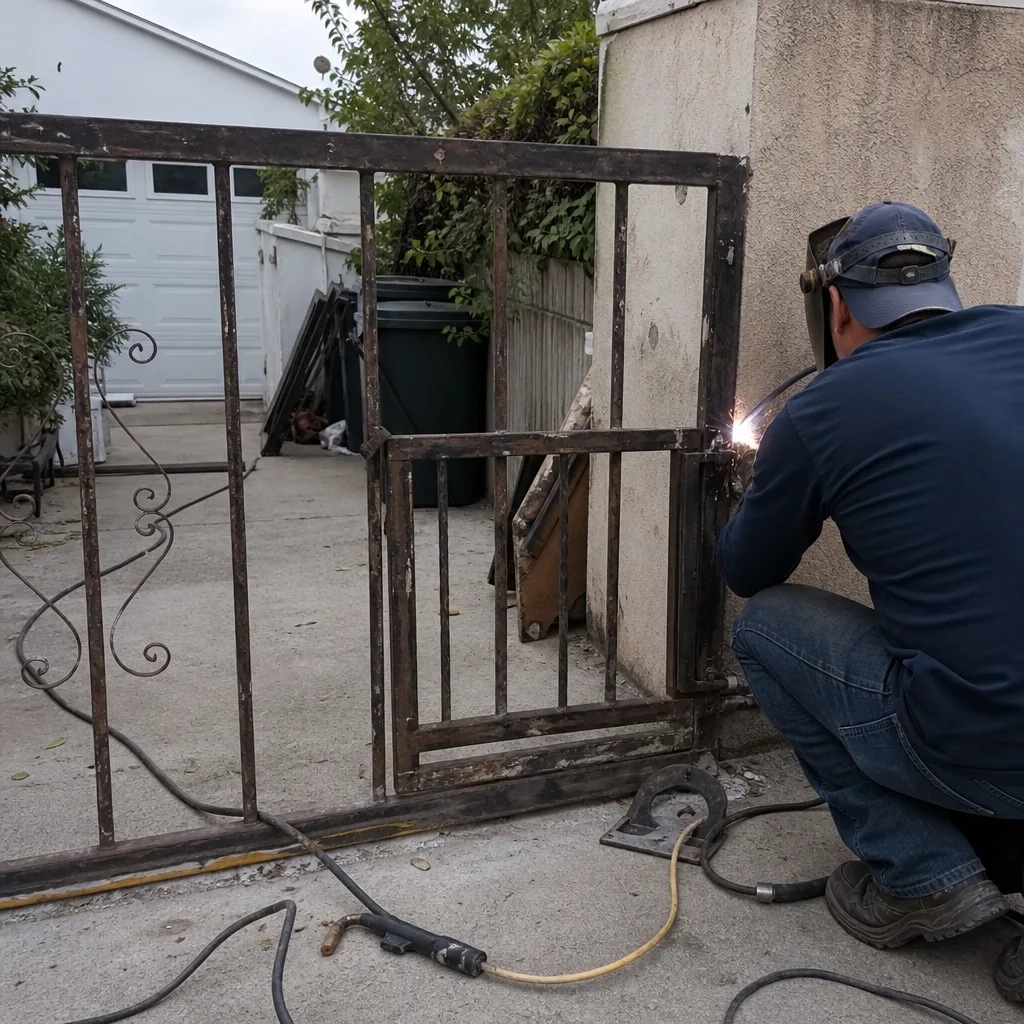 Before
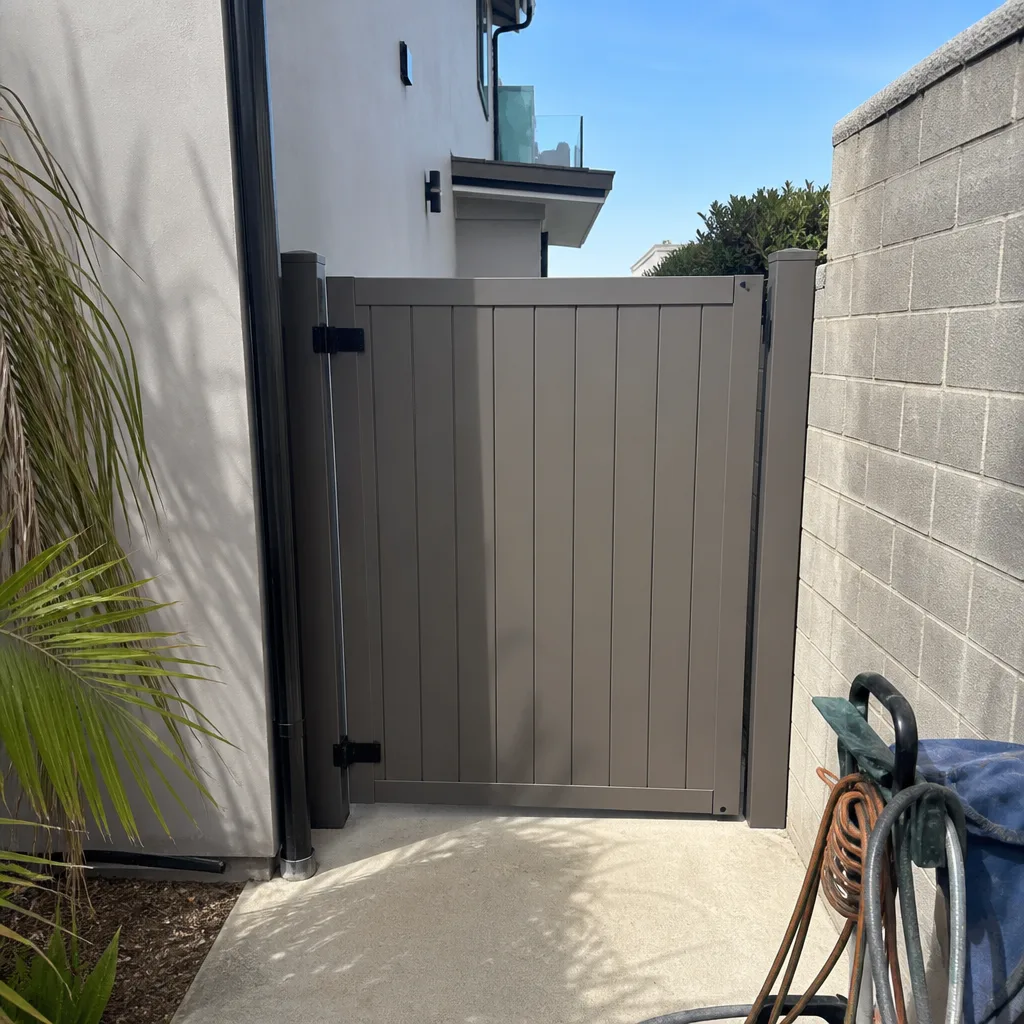 After
After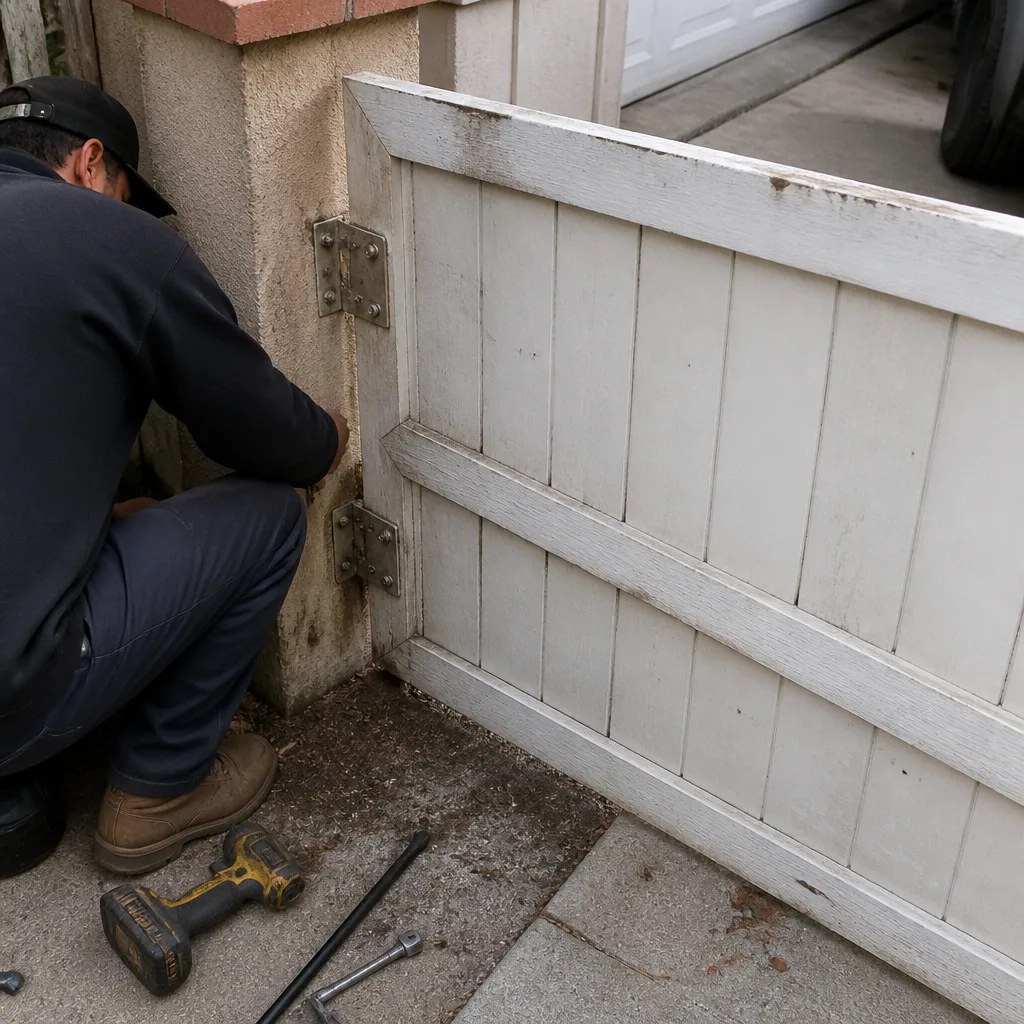 Before
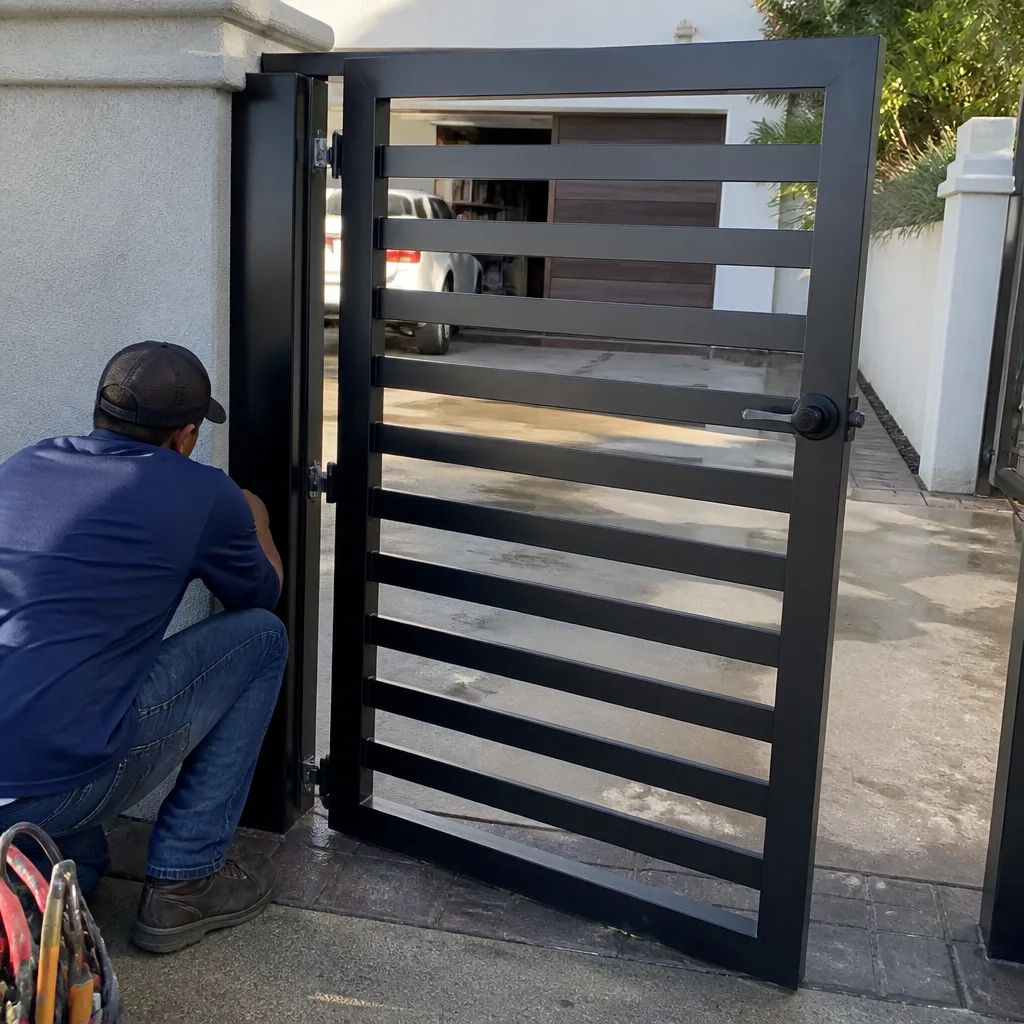 After
After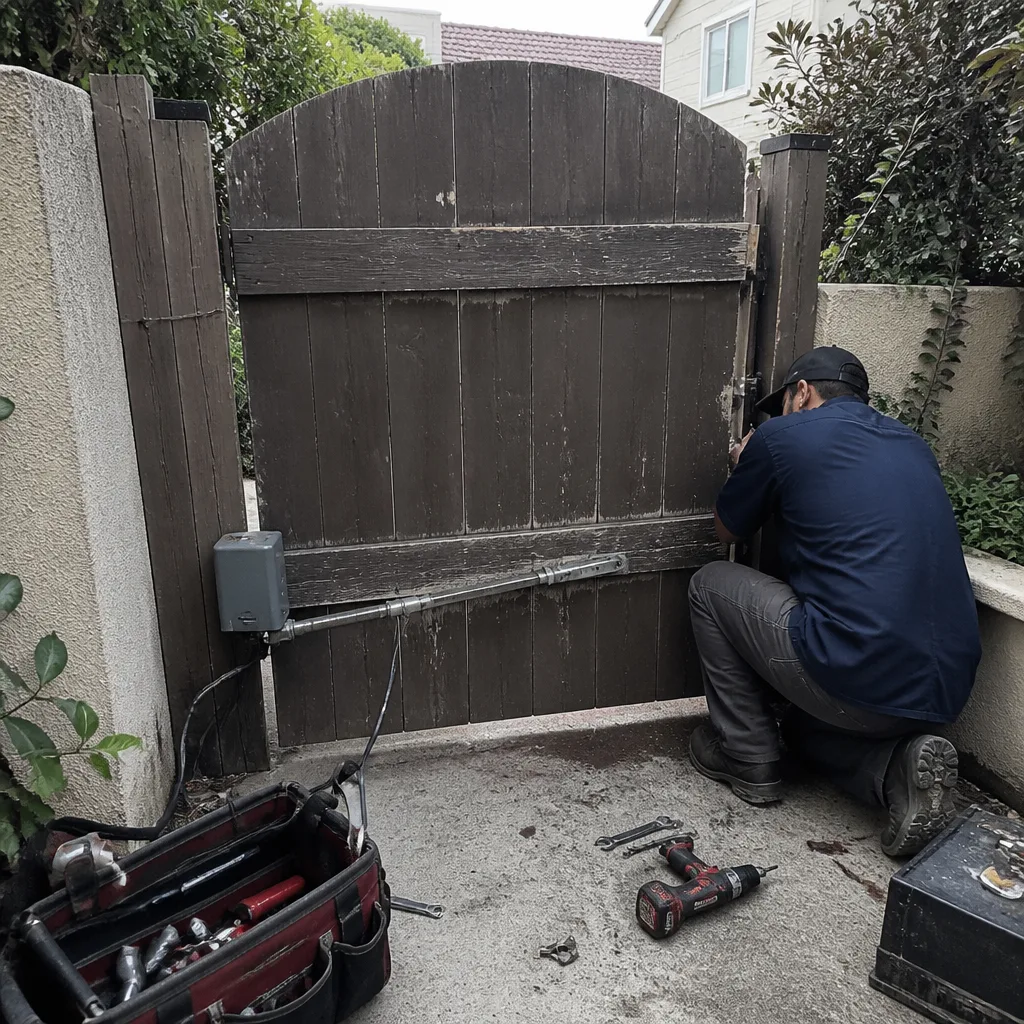 Before
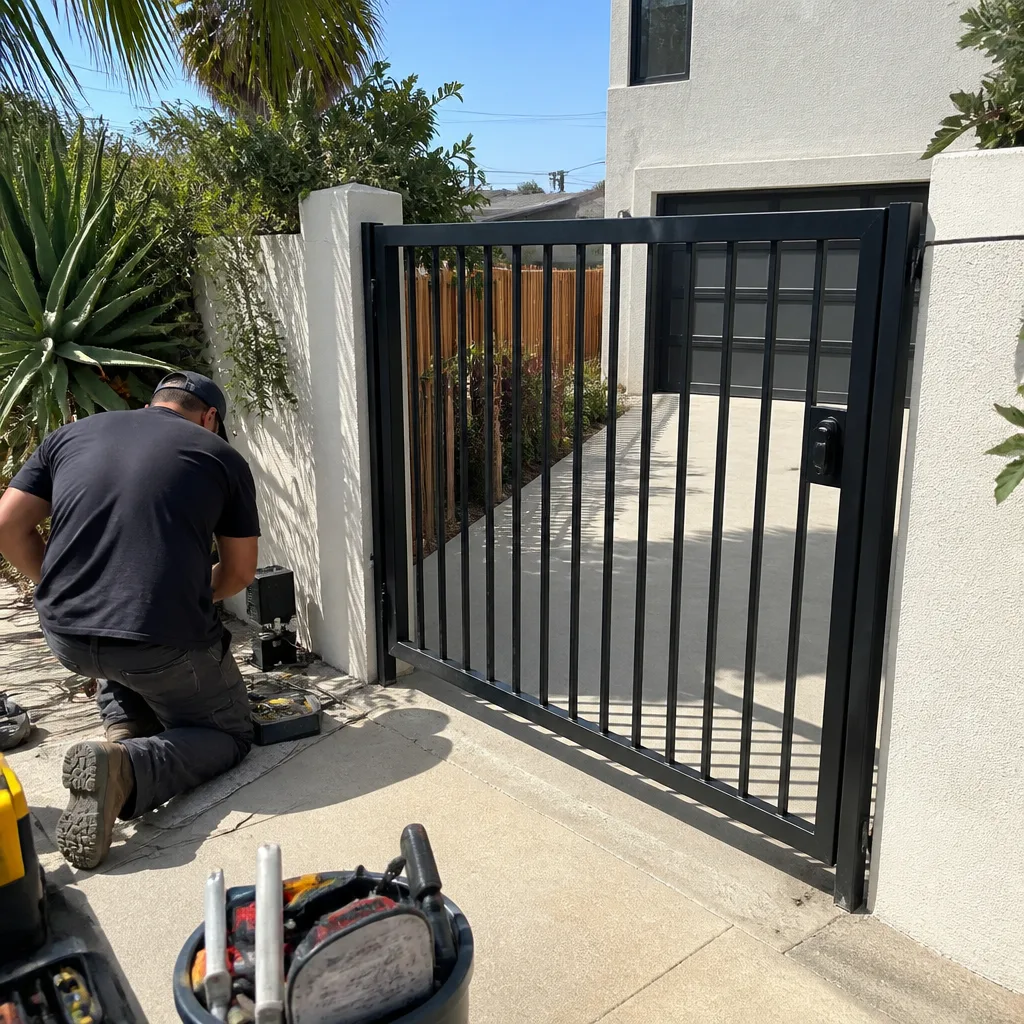 After
AfterLiftMaster Welding & Fabrication: The Hermosa Beach Owner’s Guide
When a LiftMaster gate operator has a failed weld, a cracked hinge mount, or a broken bracket, the fix is usually structural fabrication rather than a simple part swap. In Hermosa Beach, we weld and fabricate LiftMaster-compatible gate components on site, with most jobs done in a single visit and typical fabrication work priced between $180 and $450 depending on the part and the extent of the weld. The way most homeowners discover they need this work is straightforward: the gate starts sagging on one corner, the operator strains against a bent plate, or a bracket finally snaps through after years of salt air working on the metal. Once that happens, the gate either won’t close fully or the opener starts grinding against a mount that’s no longer square. We handle these calls regularly from the flats near Pier Avenue up into the sand section, and the fix is almost always faster and cheaper than replacing the whole operator.
Which LiftMaster Models This Applies To
Most of the LiftMaster gates we weld for in Hermosa Beach fall into two groups: the swing-arm operators like the LA400, LA412, and LA500 series, and the slide-gate operators like the SL3000 and SL585 family. The welding and fabrication work usually involves the hinge plates, the operator mount brackets, the gate frame itself, or the post plates that carry the weight of the gate. The compatibility gotcha we see often: LiftMaster hinge plates are spec’d for specific post and gate materials, and swapping a steel plate onto an aluminum gate without the proper isolation creates galvanic corrosion that eats the weld from underneath within a year or two. When we match a part, we check the model placard on the operator arm and measure the existing bracket face, not just the bolt pattern, because two LiftMaster arms that look the same can have different throw geometry. For OEM versus aftermarket, we carry both. LiftMaster’s own fabricated parts are solid but priced at a premium, and a well-made domestic aftermarket bracket with the same gauge and the same powder coat will last just as long in this climate. The important part is matching the metal type and the finish to what’s already on the gate.
Signs Your LiftMaster Welding & Fabrication Is Failing
- The gate sags toward the latch side when it’s open. This is almost always a hinge weld or a hinge plate that has started to tear. The steel hasn’t snapped yet, but the weld is stretching just enough to let the gate lean, and the LiftMaster operator is now carrying weight it was never designed to carry.
- The operator arm clunks or jumps when it starts its cycle. A cracked mount bracket or an egged-out bolt hole lets the arm shift a fraction of an inch before the force transfers. That clunk is the sound of the weld flexing under load, and it only gets worse.
- You can see rust staining running down from a bracket or a weld joint. In Hermosa Beach, this is the most common early warning. The salt air works its way under the powder coat through a pinhole or a scratch, and the rust line tells you exactly where the fabrication is going to fail next.
- The gate post moves when the gate is in motion. If the post plate or the post itself is flexing, the weld is holding but the structure underneath it is not. That post needs reinforcement plates fabricated and welded in before the gate goes down on a car or a person.
- The operator sounds like it’s working harder than it used to. When a swing arm or slide bracket is bent just a few degrees out of alignment, the motor has to push through the bind every cycle. The sound is a loaded growl instead of a clean hum, and the fix is usually straightening or fabricating a new bracket rather than replacing the motor.
Replacement Cost & What’s Included
In Hermosa Beach, what you pay for LiftMaster welding and fabrication comes down to three things: what part failed, how much of it needs to be removed and rebuilt, and whether the gate has to be lifted off its hinges to do the work right. A broken gate bracket or a simple hinge-plate replacement typically runs $180 to $280 installed. A sagging gate that needs the hinge welds cut out, the gate re-squared, and new plates fabricated runs $250 to $450 depending on the weight of the gate and the access to the post. Every job starts with a written price before we strike an arc, so there’s no invoice surprise at the end. The price includes the fabricated part, the hardware, the weld, smoothing and grinding the repair site, and touching up the paint or powder coat so the repaired area doesn’t rust out ahead of the surrounding metal. All of it is covered by our written 90-Day Done Right Promise: if it’s not right, we come back and make it right, no arguing and no extra charge. Victor Salinas has been doing this work up and down the South Bay for long enough to know that a good weld is a quiet weld, and the guarantee behind it should be quiet too.
DIY or Call Us?
If the gate is making a new sound or leaning slightly, there are a couple of things worth checking before you call: walk the gate and look for an obvious rust streak or a bracket with a visible crack, and watch the post while the gate cycles to see if it’s moving. That tells you where the problem is, and it helps us give you a more accurate price on the phone. But the actual welding and fabrication is not a weekend project. A gate weighs hundreds of pounds, and when a weld lets go the fall happens fast and without warning. If that gate comes off its hinges or drops while someone is under it, the injury is serious. The same goes for the electrical side: the operator arms carry voltage, and welding near the control wiring without disconnecting things properly can fry the board. That’s a several-hundred-dollar mistake on top of the original repair. Give us a call at (279) 263-9485 and one of our background-checked technicians can look at it the same day. We’ll tell you honestly whether it’s a fabrication fix or a mechanical one, and you’ll have a written price before anyone starts cutting.
FAQs
A properly welded and finished bracket on a LiftMaster gate in Hermosa Beach typically lasts 15 to 20 years before the salt air and the daily load start to take a toll again, assuming the gate stays properly aligned and the operator limits stay within spec. The weld itself generally outlasts the surrounding metal; what fails is the parent material next to the weld or the powder coat that protects it.
Sometimes yes, sometimes no. A simple crack with clean metal on both sides can often be ground out, welded, and reinforced with a small plate. But if the crack runs through a bolt hole or the surrounding metal has thinned from corrosion, we’ll tell you straight that a new fabricated bracket is the better investment, because welding thin, fatigued metal just moves the failure point a few inches over. Call (279) 263-9485 and we can give you an honest read over the phone based on what you’re describing.
Most bracket replacements, hinge-plate welds, and operator mount fixes are done in a single visit of two to four hours, including setting up, cutting out the old part, welding in the new one, grinding, and touching up the finish. Heavier jobs, like re-hanging a large gate or reinforcing a post, can take most of a day. We’ll give you a realistic time window when you call, and we’ll be there when we say.
We stock common LiftMaster-compatible hinge plates, operator mount brackets, post plates, and gate reinforcing steel on the truck, along with the welding equipment to fabricate a custom part on site when the stock piece isn’t quite right. We also stock parts for Mighty Mule, Ghost Controls, and DoorKing operators, since LiftMaster is only one of nine gate-automation brands we service. If what you need isn’t on the truck, we can generally have it in hand within one to two business days.
Written by Victor Salinas, Owner, Ironworks Gate Co. at Ironworks Gate Co., serving Hermosa Beach and nearby areas.